Saturday, June 20, 2015

Drilled for the Bow Eye

My bow eye came in from Glen-L earlier this week. I went with a 3/8" single-post, stainless steel cast type rather than the U-bolt type... I only wanted to drill one hole.

To prep the bow of the boat for drilling, I located & marked the spot where I wanted the bow eye to go... in-between the planking screws on either side.

I ground away the fiberglass in a small spot with my Dremel, and then slowly & cautiously began drilling with a very small drill bit. I used the vertical line of the bow as a reference for trying to keep the drill bit parallel with the center of the stem.

Bit by bit, (literally), I expanded the hole with increasingly larger diameter drill bits, until I finished the hole with 12-inch long 1/4", 5/16" and 3/8" bits.

Did I drill the hole dead-center all the way through?

No. Of course, not. 

However, it'll work. Once the boat is flipped, I can re-enforce the "thin" side of the stem if I feel it's warranted.

Soon, I should be back to painting.

Happy Father's Day!


The Hello Kitty make-up mirror that I lifted from my daughter has been invaluable at things like getting this shot of the inside of the stem. As you can see, the exit hole is off-center... but it'll work.

Sunday, June 14, 2015

A little touch-up & Pull the tape

There was a spot on the transom where I hadn't taped it accurately, and that left a little unpainted notch in my "waterline." So, I touched it up the same as I'd painted it... 2 coats of primer, 2 coats of paint... just with a small brush instead of a foam roller.

After it all dried, I pulled the tape off. Soon it will be time to tape off the bottom and the transom, and paint the sides of the hull.

First, I've got to drill a hole for the bow eye.


Oops.

2 coats of primer.

2 coats of paint.

The un-taped transom.

Tuesday, June 9, 2015

Two Coats of Sea Foam Green

I let the first coat of Aquagard 190 primer cure overnight, then rolled on a second coat. After a little more than the 4-hour recommended drying time, I opened my can of Aqua Gloss Sea Foam Green.

I haven't gotten so excited at the sight of a color since I was 4 years old & opening a big, brand-new box of Crayola® Crayons. The Sea Foam Green paint just seemed to glow inside that black-lined can!

I rolled on the first coat, and let it cure overnight. Then I rolled on the second coat this morning.

So far, so good.


Sunday, June 7, 2015

First coat of primer

Today I did a bit more sanding on the Utility's hull... then I taped it off and rolled on the first coat of primer. The primer is AquaGard 190. I rolled it on with a foam roller, and it took only a fraction of a quart to cover the bottom. It was a breeze.

The lighter area you see going across the hull is from water that condensed on an overhead air conditioning duct and then fell onto the hull, before rolling off either side. A little frustrating, but it doesn't look like it will cause a problem. I'll remember to towel off the ductwork before applying the second coat. Maybe that will buy me enough time before the next coat dries.

What can I say? I live in the deep South. It gets humid here.


Thursday, June 4, 2015

Crisp Transom Edge

Ken Hankinson's excellent book, "How to Fiberglass Boats," suggests radiusing the hard edges of the hull in order to properly apply fiberglass cloth, without air bubbles forming underneath. The air bubbles would become a potential source of water entrapment, and inevitably... rot. Good motivation.

The book states that fiberglass cloth does not easily, or readily, adhere to sharp edges, but rather forms a curve.

Now, I won't begin to compare myself to the brilliant and accomplished Mr. Hankinson. He is the established expert, (that book and DVD are worth every penny... and then some). I myself, on the other hand, am stumbling toward completion of my first boat. However... I will mention this from my limited personal experience:

I used rather light fiberglass cloth (6 oz) on my little boat. And yes, I did radius the edges beforehand. From what I saw, light fiberglass cloth like that was very pliable when wetted out with epoxy. Enough so that I think it would conform to edges such as a chine junction or the base of a transom.... edges less than a 90° angle, that is. I'd be less inclined to feel that way about heavier cloth, but light cloth like 6 oz, I THINK might conform to a sharp edge reasonably well. THIS IS A THEORY. I HAVE NOT TRIED THIS MYSELF. However, I think it is at least worth an initial attempt, and I will probably do so later on, on the Zip.

Why does all this matter?

As the book states, "The well-radiused corner required for proper application of fiberglass cloth is not desirable on some areas of certain types of boats. For example, the bottom edge along the transom of high performance boats or the inside edges along sponsons of hydroplanes should have a hard crisp corner for ultimate speed and performance..."

The book then goes on to describe how to create a "crisp" edge with additional layers of fiberglass cloth. I won't get into that method here, because I didn't use it. However, again... I do certainly recommend buying the book (and DVD!).

Now, my little boat with its 8hp motor is anything but a high performance speed boat. However, I still wanted to create a crisp transom edge. I simply did it with thickened epoxy... System Three Gel Magic in a cartridge with a mixer nozzle to be specific. Will it be durable enough to last? Time will tell.


Radiused edge along the chine and base of the transom.

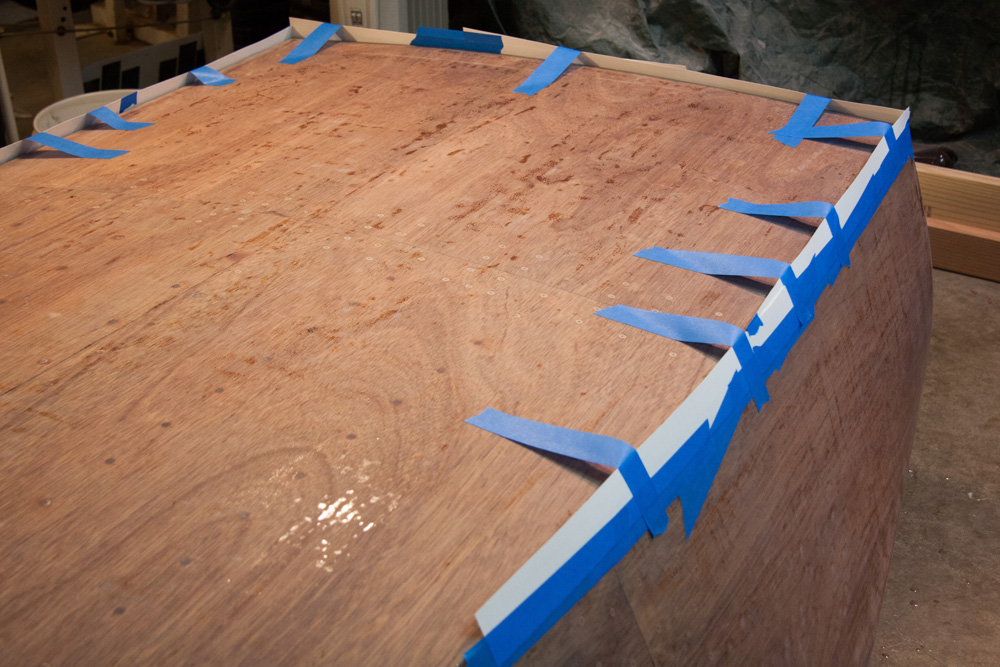
Here, I've taped poster board along the edge to create a form for the epoxy to fill in.

After clearing away the tape, poster board, and a lot of sanding, (it was an unholy mess!)... the base of the hull looks like this.

Here's the crisp epoxy edge at the base of the transom & along the chine.

I will have to clean up these scuff marks on the transom.

A mishap with the tape allowed epoxy to leak out & flow down the transom in one spot. I was able to scrape most of it away while it was still liquid, but I'm still left with more "mess" to sand off of the transom.

If you try this method, keep a close eye on the progress in case of mishaps like this one. It could've been a MAJOR problem if that runoff epoxy had cured.

This is the view along the port chine, where the radiused edge transitions to the filled-in, sharper epoxy edge.


Monday, June 1, 2015

Not so shiny now...

Here she is, fiberglassed and sanded in preparation for painting...


And, here is the planned paint scheme: Sea Foam Green bottom and accents, Whidbey White hull, and bright-finished deck, transom & seats.


The Important Lesson I Learned About Bottom Paint
Initially, I had chosen Aquagard bottom paint (anti-fouling paint) in teal for the bottom of the boat. I was drawn to the good reviews and "Eco-Friendly" aspect of their paint. However, after swapping e-mails with the very helpful folks at Flexdel, I learned that using anti-fouling bottom paint on my boat would be a mistake. Why? My little boat will live most of its life on a trailer... dry. It will only be in the water as often as I'm able to take it to the lake. Anti-fouling bottom paint is meant for boats that will be left in the water for prolonged periods of time. For my use, regular marine enamel will work just fine. That may be obvious to most of the boating world, but I didn't know until I asked. So, if you didn't know, either... there ya go!

So, instead of the Aquagard bottom paint, I'm planning to use their Aqua Gloss marine enamel, over their 190 primer. I ordered it last week, so it should be here any day now.

Tuesday, May 19, 2015

Fiberglassing Completed.

With the sounds of the Hallelujah Chorus still echoing in my ears, I'm happy to say that fiberglassing work on the Utility hull is finally completed. I've added a second layer of epoxy to the whole thing, and the next step will be to sand it down smooth in preparation for painting. Until then, at least, it's nice and shiny.


The Next Problem?
For planing boats, the bottom of the hull is supposed to be flat along the aft 1/3 of its length. If it's not flat, the boat will likely tend to porpoise (bounce up and down at the bow) at higher speeds.

For an 11-foot boat, 1/3 the length would be 3.67 feet. Checking the bottom of my boat with a 48" level, I've found that the aft 36 inches is fairly flat. However, in the aft 48 inches, there is a noticeable hook that is about 1/16" in depth. So the unanswered question is, "will it porpoise?" Since the bottom of the hull is not as long the top, and the final 36 inches is flat... perhaps it'll be okay. Perhaps not. Only time will tell.

Even though I don't know for certain just yet, I'm tempted to go ahead and add a wedge to the bottom of the hull while it's still upside-down and easily accessible. I'll think about it.


The gap between the hull and the level shows a hook of approximately 1/16" depth.

Progress on the Zip
I've got the transom knee for the Zip built. While the plans call for a 1-1/2" wide knee (two 3/4" plywood parts laminated together), I've added additional 1/4" pieces on either side to widen the knee to 2 inches. It should be plenty strong. 


Transom knee for Glen-L Zip
Transom knee for the Zip.