Monday, August 31, 2015

Deck framing completed

I suppose this wraps up the "blocking" phase I mentioned about a month ago. The last of the blocking was to support the deck framing, (which, on this little boat, only consists of two parts: a deck beam and a strongback).

I wasn't exactly sure where or how to trim and attach the strongback. I wound up following some examples from photos I'd seen online, and I trimmed it short enough to let it mate to the back of the breasthook. It's hard to tell just yet, but that may have created an excessive downward curve. Time will tell. Once I get the bow and the remaining parts of the sheers faired in preparation for the decking, I should be able to tell if it will need a little shim on the top or not.

The deck framing is simply epoxied into place... no screws. Here's a photo of all the clamps & spreader bars involved.

Deck framing with the clamps removed.


Blocking for the strongback, on the back of the breasthook.

Blocking on the sheers, to support the deck beam.

Blocking on the back of frame #2, to support the strongback.

Notch in the deck beam for the strongback.

This part at the bow needs to be faired before the decking can be put on.

Saturday, August 29, 2015

Beginning the deck framing


Primarily due to budget restrictions at the moment, I decided to build the deck framing out of southern yellow pine. After digging through every board at Lowe's until I found one with relatively vertical grain (if it's a good 45° diagonal or better, I'll take it), I walked out with enough wood to build the deck framing for about $7. Not bad.

Besides, I've entrusted my chines and sheers to this strong, flexible, and affordable wood, so I have no problem at all using it for deck framing.

The first step was cutting the actual deck beam (the part that fits crosswise from sheer to sheer). The widest distance at the blocking for the deck frame measured 42 inches. So, I measured & marked the board, and cut it with my circular mitre saw set at 20° to match the curvature of the sheer. Then, I clamped the cut board to the back of the forward frame, and traced the curvature (crown) of its deck beam onto the pine.

I cut it, and fit it into place. The photos easily tell the rest...

Deck beam clamped into place against the blocking on the starboard side.

Once the deck beam is epoxied into position, I will add additional blocking on the forward side, like this.


Port side, with the deck beam and forward blocking clamped into place.


Thank you for taking the time to read my blog, by the way. I hope that you find it helpful.

Wednesday, August 26, 2015

False battens, blocking for deck framing, and shiny stuff

Trying to push this project on toward completion, tonight I started measuring for the deck framing. So far, it has been mercifully simple.

I clamped my big adjustable T-Square onto the forward frame at the centerline, and measured the halfway point between the frame and the breasthook. Then, I set my 48" ruler across that halfway point, at right angles to the T-Square. After determining the ruler's contact point with the sheer was an equal distance from the frame on both sides, I clamped the ruler into place, and marked the sheers. Then, I measured the angle at the intersection of the ruler and the sheer. Thankfully, it was a very easy-to-cut 20°. 

Measuring for the deck framing.

The blocking for the deck framing required a simple 20° cut. Here is the starboard side being epoxied into place.

Blocking for the deck framing on the port side.

Here, the false battens on the floor are being epoxied into place. All those boards look a little excessive to my eye, but the false battens do serve a practical purpose.

Tonight I drilled the holes & installed the stainless steel grab handle on the forward frame. The first time I rode in a Glen-L Utility, I realized this is a "must-have" item.

Progress...

Waxed paper works better than painter's tape.

Last night, I attached the blocking that will support the sides of the forward thwart. I used the same procedure as I did for the rear thwart, with one exception: This time, I taped waxed paper to the ends of the seat in order to keep from gluing the seat down just yet. Last time, I used the blue painter's tape. 

Waxed paper works much, much better.


2 bar clamps hold the level to the plywood, keeping it straight; 4 bar clamps hold the plywood to the center support; four 4-1/2" deep C clamps hold the 2 pieces of blocking in place against the underside of the seat & the sides of the hull; 2 bar clamps reversed as spreader bars push the blocking against the sides of the hull.


The waxed paper made it MUCH easier to remove the seat once the epoxy had cured, and left no mess to clean up or sand off.

Due to the variety of angled lines inside the boat, the seat blocking appears to angle downward. However, I checked, and they are indeed parallel to the keel.

Angle measurement on the rear thwart.

Angle measurement at the aft end of the keel.

Angle measurement at midship on the keel.

Angle measurement on the center support for the front seat...

...and finally, the angle measurement on the forward seat blocking. That's consistent enough for me.

Here's the topside view of the forward chine that I had to add more material to 2 years ago. (I can't believe it has been that long ago!)

Next, before I begin encapsulating the inside of the hull, I plan to add false battens to the outermost sections of the floor, just to keep from standing directly on the plywood.


Monday, August 24, 2015

The For'd Thwart


"For'd thwart"... or "forward thwart." The front seat, in other words. (This nautical terminology thing is fun).

In any case, I got the basics of the thing built over the weekend. The construction is essentially the same as the rear thwart, although it was a bit trickier to measure for this one. 

With the rear thwart, I had both the frame and its cutouts for the seat risers to use as reference points. Since I did not install the full-length seat risers, (as the boat was designed to have), and since the forward thwart is mounted several inches aft of the forward frame, I first had to figure out where the seat riser should be. Then I could use that as a beginning reference point.

To get to the point, the originally-designed seat riser does not move parallel to the keel. The keel, in fact, is angled downward from the transom to the bow. The sheer line is angled upward from the transom to the deck. Who knows if the seat riser is on a level line? (I suppose I would, had I not lost the drawings at some point.)

The point is, the forward thwart is actually mounted higher than the rear thwart. The way I'm building the seat supports, the seats on my boat will actually be parallel to the keel. Based on my measurements, the forward thwart should have been some 2-1/2 to 3 inches higher than the rear thwart. Put simply, I didn't want it that high. So, I built the center support to 9" in height... one inch taller than the rear one.

Next came measuring the seat dimension from side to side. Again, not easy. To boot, the inward curve of the sides of the hull meant a considerably more angled trapezoid shape than the rear thwart. The complexity of the shape made it easy to mess up.

I won't share my dimensions here, because I measured them too short, and cut them even shorter. Executive decision: move the thing forward until it mates to the sides, rather than re-measure and cut a new one.

Actually, that was a pretty easy decision to make. Sure, it will mean that whoever is sitting up front will have to sit facing backwards, if they want to be comfortable. However, this arrangement actually maximizes the available space between the thwarts, providing the most available legroom for everyone. Besides, if I put oars on the boat, I'll have to sit backwards to row it, anyway.

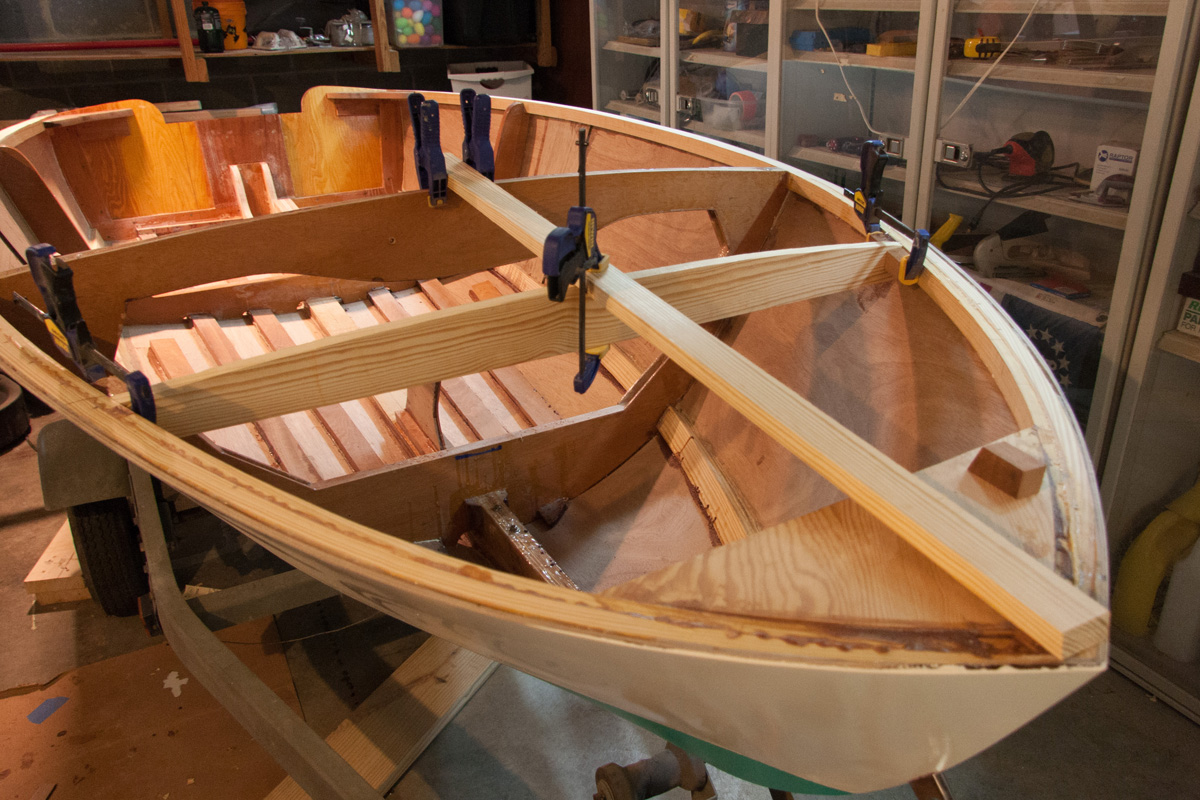
Enough gabbing. Let's look at the pictures:


Opening up the center space like this should give plenty of legroom for up to 3 people in the boat. 

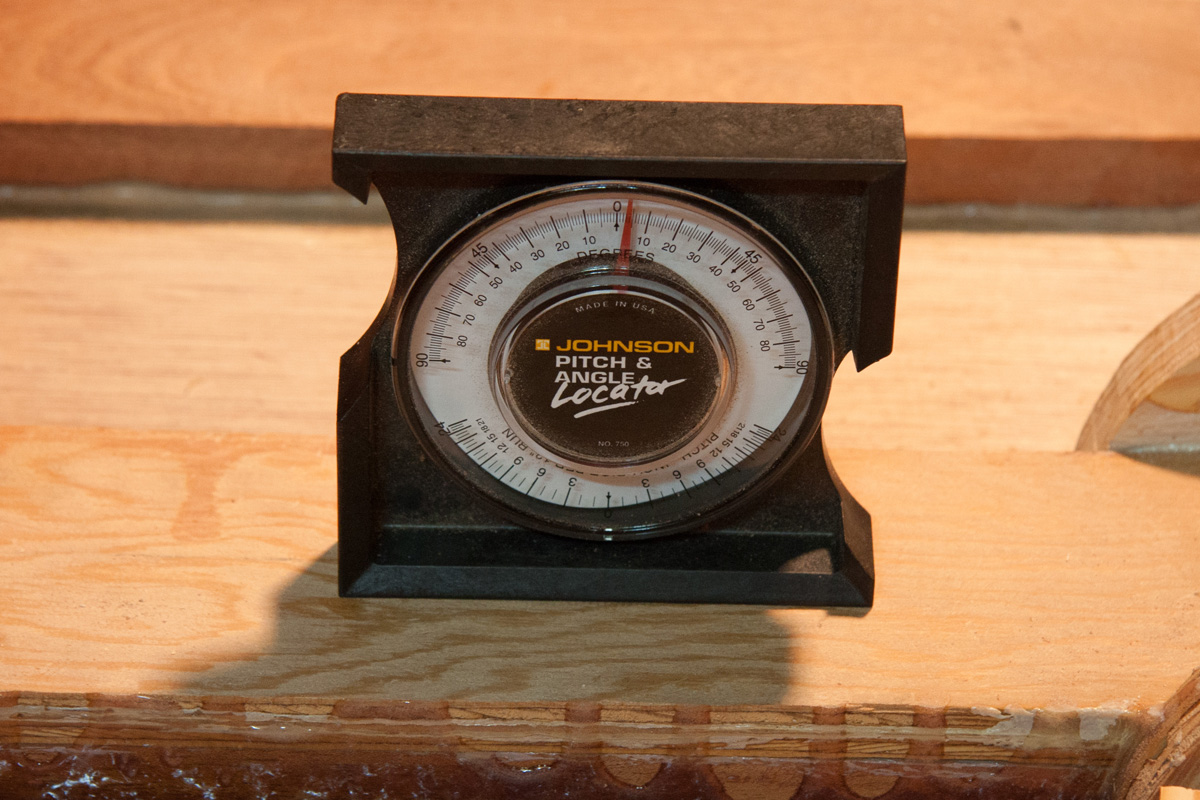
The sides of the forward thwart were cut at a 30° bevel to match the sides of the hull.
Oh yes, one last update: I epoxied the bow eye into place. I filled the hole up with thickened epoxy, pushed the bolt through, tightened it, and scraped away the mess. It shouldn't be going anywhere.

Thursday, August 20, 2015

What’s in a name?


Today being an anniversary of sorts, I wanted to do something special to mark the occasion. It seemed like an appropriate time to order the transom decal for my boat. 

The boat’s name will be “Perseverance.” 

In the 3-1/2 years I’ve been building this Glen-L Utility, the project has bridged some pretty major personal events; dark and painful personal storms including divorce, heart surgery, betrayal and loss... things that at times seemed insurmountable. But, by the grace of God, I have made it through, and healed and grown along the way. 

At some point, watching this boat grow from a few pieces of wood, to a graceful framework, to a painted and righted hull, I realized that the project has been a metaphor for my own growth and healing. “Perseverance” seemed like the perfect name. 

I’ll close this post with a beautiful quote from a very eloquent friend of mine: “If the soul had a form, it would be shaped like a boat.”

Saturday, August 15, 2015

Seat blocking & epoxy's love affair with tape

It has been a busy week with band rehearsals & back-to-school shopping, but last night I did manage to get the blocking for the rear seat attached.

I had covered the ends of the seat with blue painter's tape in an effort to keep from gluing the seat down just yet. In short, it worked. But, after I had pried the seat off of the blocking, I was reminded that epoxy really likes blue tape. Epoxy likes blue tape a lot.

That's a mess to clean up another day.


16 clamps to install 2 pieces of seat blocking? Yep. Some to clamp the seat to two levels; some to clamp the seat to the center support; some to clamp the blocking to the seat; and two used as spreaders to push the blocking upward & outward.


The larger Irwin bar clamps are great, because you can switch them around & use them as spreader bars.

Port side blocking attached.

Starboard side blocking attached.

No, I won't win any prizes for fit and finish. (I'm not trying to.) Even with the imperfect fit, the thickened epoxy is tenaciously holding the little mahogany block to the side of the boat.

I can fill in the remaining gaps with epoxy when I encapsulate the inner surfaces of the hull.


Saturday, August 8, 2015

Finally got the center support glued down

Last night, I finally got the center support for the rear thwart glued to the keel with thickened epoxy.

The delay was caused by a slight change in course in the way I'm trying to straighten out the bend in the plywood seat. I had removed the seat & was prepared to epoxy four 15" reinforcing pieces to the bottom, hoping that would keep the seat "flat." However, the warp seemed minor enough that the only way to keep it flat this way would be to run full-width reinforcing strips. I can't do that, due to the center support.

So, the change in course was to clamp levels to the plywood, to keep it flat. THEN, after trimming the sides to fit, I'd attach the side blocking. In theory, once the blocking is in place at that "level," it should force the seat to stay flat once it's attached. That's the theory, anyway.

Center support, finally glued down.

This is my effort to keep the plywood flat until the side blocking is attached.

I used the extraneous epoxy squeezed out from the seat support to fill in imperfections like this in the plywood.

The structural part of the thwart is basic A-C grade exterior plywood from Home Depot. A little tip-of-the-hat to William Jackson here...

Here's where I had marked the sides of the hull for measuring the seat support dimensions.

I'm still undecided on whether to install a drain tube, or to just use a bilge pump. If I do install a drain tube, this is where the hole will be drilled.