Sunday, May 27, 2018

Stem attached.

The photos say it all.

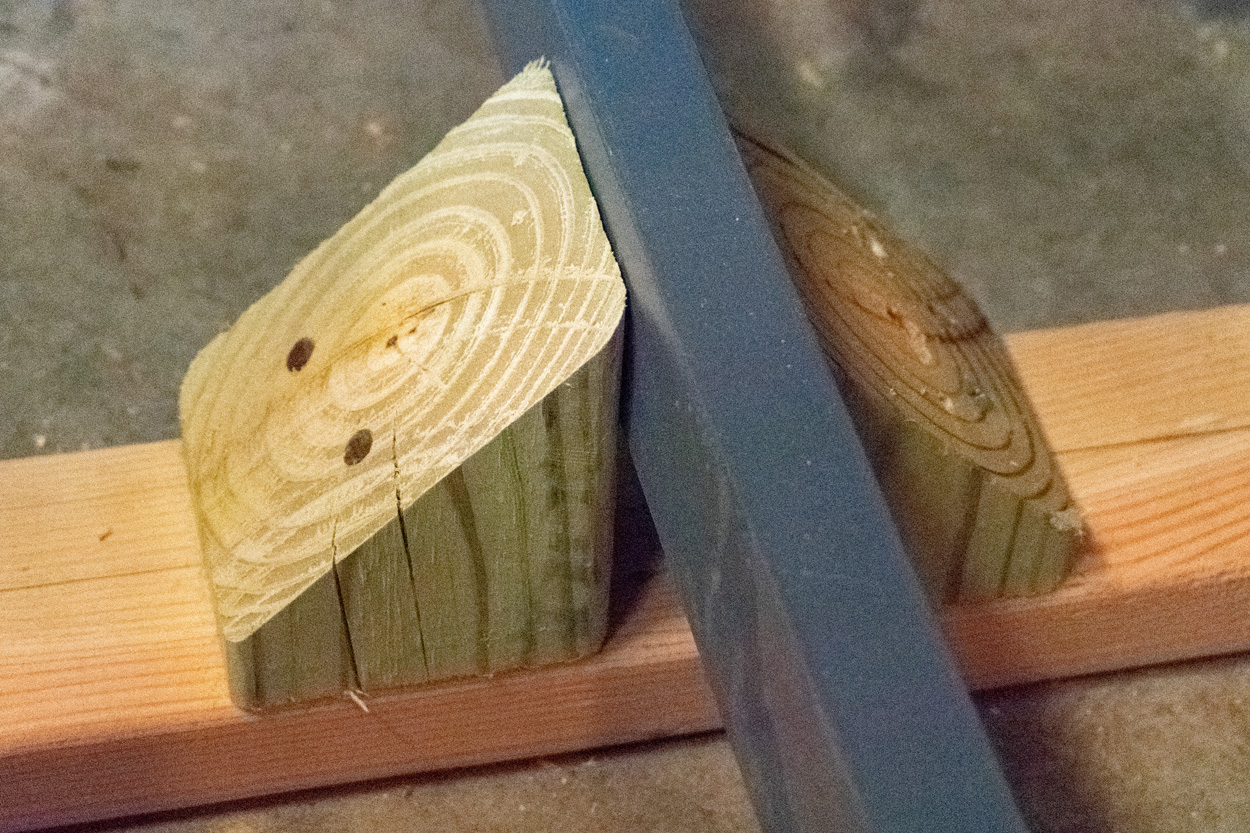
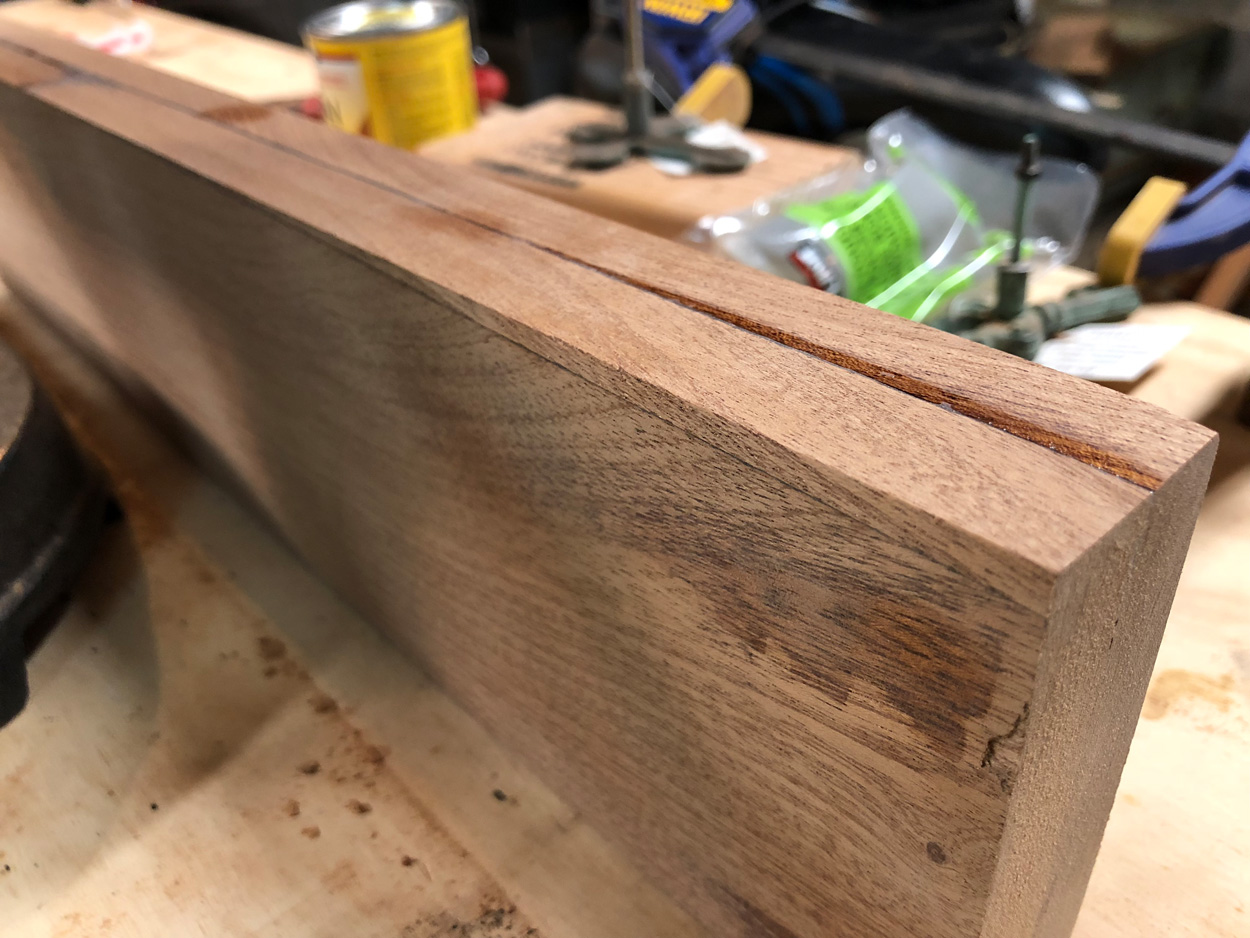
I made this blocking out of leftover 2" thick mahogany.

Dry-fitting the stem blocks.

Dash inlay sanded for encapsulation coat #2.

Areas marked off for sanding on stem & Frame # 5-1/2.

Quick, if ugly, sanding on the frame for better epoxy adhesion.

Quick, if ugly, sanding on the stem.

Stem "glued and screwed" into place.

Detail shot of blocking.

Should be pretty sturdy.

A little encapsulation on the transom.


Saturday, May 26, 2018

A Tour of the Construction Form

Today is my mom's birthday. So, let me first start off by saying:

HAPPY BIRTHDAY, MOM!!!

I'm looking forward to celebrating her birthday a little later today with my parents and my kids. She's a picture-postcard of the "Baby Boomer" generation, my mom. My grandad came home from Europe to rural Georgia after the end of the second world war. About a year later, there was my mom.

For fans of classic boats, the following decade brought an economic boom in the U.S. that yielded some of the most beautiful boats ever put in the water. That boom also brought a high demand for kit boats and plans for boats that could be built at home. The Glen-L Zip that I'm building is a product of that era. Glen L. Witt published the design when my mom was about 8 years old.


Birthday Girl!
Speaking of the boat... It has finally become a three-dimensional project. All the frames are on the construction form, and I've begun fitting the keel. My construction form this time around isn't as heavily-built as my last one. It's mostly as-per-the-plans, with a couple of my own ideas added — and, naturally — a few mistakes that I had to fix. So, here's the tour:

Here is an overall view, with the frames all mounted on the form.


The legs were built from scraps of pressure-treated lumber left by the contractor who recently built my back deck. I left the tops open, so that it would be easier to work underneath the hull if necessary.


The longitudinal stringers on the form are made from 2x4s that I bought at Lowe's. To insure symmetry, I screwed the boards together before making the cuts for notches, etc. The plans actually call for 2x6 boards... a mistake I didn't catch until later. However, I believe these will be fine... not to mention lighter if they come off with the hull.

The supports for the stringers are attached from the inside-out, as are the stringers themselves. They are attached with hex-head lag screws. The idea is that, when the time comes to remove the hull, I should be able to get underneath (as before with the Utility) and detach the stringers from the legs. Hopefully, this will make it easier and lighter to remove the hull and flip it over.


I pre-built these T shaped spacers to hold the stringers exactly 18 inches apart. I attached them to the stringers when they were upside-down on my garage floor. The idea is that the floor would keep the upper (topside) edge of the stringers in lateral alignment.


The forward-most spacer is positioned to provide additional support to the notch for frame 5-1/2. That notch is cut 3 inches deep, at the very front of the stringer. Obviously, a 3-inch cut into a 3-1/2 inch "2 x 4" doesn't leave much to support the weight of the frame and hull. This is clearly why the plans called for 2 x 6 boards. The spacer is attached from the bottom with 2-1/2 inch wood screws. It should provide adequate support.

Notice the arrow on the forward legs. I had to remove this set of legs in order to slide Frame #4 onto the stringers. Thankfully, the hex head lag screws made this fairly easy. The arrow was to make sure I re-attached the legs exactly as they had come off.

The forward end of the stringers are cut and beveled to allow clearance for the planking that will bend around Frame 5-1/2 later on.


Frame #5-1/2 is attached to the forward spacer with 2-1/2 inch wood screws to prevent movement of the frame. This also holds it in position where it is horizontally level. I added blocking to the breasthook support to hold Frame 5-1/2 level vertically.


Blocking to support the breasthook so that it is exactly 21 inches from the topside surface of the breasthook to the top of the stringers.


The stem support board is attached to the forward legs via three 90° brackets.


The plans call for the stem support board to be 14 feet long — long enough that it can be attached to all 3 sets of legs. This is to hold it firmly in position, centered exactly on the centerline. I don't know what I was thinking when I bought an 8-foot board. Not surprisingly, I found the board could easily be kicked out of alignment. Totally unacceptable.

To remedy this problem, I attached a leftover 2x8 to the back 2 sets of legs. The forward end of this board overlapped the back end of the stem support by about 6 inches. I attached the two at this joint with the biggest gusset I could make out of scrap 1/4 inch plywood and a lot of wood screws. A little unconventional, but it works.


In addition to the original T shaped spacers, I added two more as blocking to support Frames 2 and 4. I further added 1 x 1 inch strips to these spacers, and the frames are attached to these with 2-1/2 inch wood screws. While this will work for the time being, it also creates something of a problem. The 1x1 strips are high enough that they will interfere with placement of the floor battens later on. So, these will need to be removed before I add the floor battens.


I added more 1 x 1 blocking to the sides of the stringers, to hold Frame #4 in position where it is vertically level.


I left the aft ends of the stringers at an overhang, to allow plenty of room to work on both sides of the transom.


The transom is screwed directly to the ends of the stringers, holding it in position at a 12° angle. I hated drilling holes through the transom. One 2-1/2 inch wood screw per side is all it took.


And, finally... fitting the keel into its transom notch.


Saturday, April 7, 2018

Stain & Epoxy — So Far, So Good...

The System Three Silvertip epoxy seems to be adhering on to the stained wood just fine.

Here's how it looked after the first coat:


Again, the stain I used was Minwax Gel Stain. I applied one coat, then let it dry for five days. I applied it pretty heavily, so that there would be enough thickness to withstand a light sanding without penetrating the epoxy and marring the stain.

I let the epoxy cure for about 2 days, then sanded it lightly, and cleaned the surface with a small amount of denatured alcohol. 

Then, I applied a second coat. Once again,  I applied it pretty heavily with a foam brush. Once that cured, I sanded it a little more aggressively to even out the surface, making sure not to sand all the way through the epoxy. I'm currently in the process of sanding the rest of the frame, in preparation for the third coat of epoxy.

Sanding the second coat


Sunday, March 25, 2018

To Stain, or Not to Stain? THAT is the Question.

So, the epoxy encapsulating process on the forward (hidden) face of Frame #4 went pretty smoothly:


The problem was, the particular piece of mahogany I had selected as the dash beam developed a really high-contrast, "striped" look to the grain when coated with epoxy.

While maybe this didn't look "bad," it was a bit of a leap from the look I wanted. The highlights in the grain were almost the same brightness as the epoxy-coated cherry inlay. It was all just more visually distracting than I wanted it to be.


After all the work I had put into the dash beam, I was not inclined to build a new one from a tighter-grained piece of wood unless it became absolutely necessary. So, I began to consider using a stain for the aft face, (the actual dashboard), in order to darken the piece overall — especially the highlights.

Another builder had some success with the Minwax Express Color water-based stains. I'd bought a tube of it several years ago, based on his recommendation. There was still a bit left, so I experimented on some scrap mahogany to see how it would look.


One coat, and two coats of Minwax Express Color "Mahogany" compared to my epoxy-coated dash beam.
After a lot of thought, and more overthought, I finally decided to go with two coats of the Minwax Express Color stain in the "mahogany" color. Since my tube was a few years old, I wanted to get a new one to use on my actual dashboard. There was a problem:

It was the ONE color of the stuff that was out-of-stock at my local Ace Hardware. At Home Depot, where I'd bought it originally, the Express Color product was NOWHERE to be seen. Lowes? Hey... they compete with Home Depot, so they didn't have it either.

Back to the drawing board.

A little online searching led me to this article, Epoxy Adhesion Over Stains on EpoxyWorks.com: http://epoxyworks.com/index.php/epoxy-adhesion-over-stains/

In a nutshell, the article covered adhesion tests of West System epoxy to wood treated with a variety of stains. They tested stains dried for 24 hours and for 4 days. Minwax Gel Stain was one of several that passed BOTH tests. So, I decided to try it.

I tested both the "Mahogany" color and the "Red Elm" color on some scrap mahogany. The "Red Elm" stain produced a darker color, with a stronger red hue on my test piece. It also seemed to darken the highlights in the grain proportionately more than the "Mahogany" stain.


One coat each of "Mahogany" stain (top) and "Red Elm" stain (bottom) on my test piece of mahogany.
By this point, my impatience kicked in. I was tired of thinking about it, and ready to just do it. I chose to go with one coat of the "Red Elm" color.


BEFORE.

DURING. A "liberal amount of stain, evenly applied."

AFTER. Per the instructions, I let the stain sit for 3 minutes, then wiped away the excess.
The end result was darker and "browner" than my test piece. However, the stain did indeed minimize the high contrast "stripes." The color is acceptable to me. I would've preferred more red than brown... but I'm not going to mess with it any further. It does offset the cherry inlay MUCH better than the epoxy-only side.

Now, I'm going to give it at least 4 days to dry. Then, I'm going to hope and pray that System Three Silvertip epoxy adheres to it as well as the West System epoxy in the tests.

Shims for the keel

LAST TIME, on "Keel: Truth and Theory" ...


This little gap on the side will get a shim, also. Is that a hairline crack I see?
Why, yes. Yes, that was indeed a hairline crack I saw. 

It was a couple of inches long, too. I decided that just wasn't acceptable, so I employed my new router to mill away the area with the crack. It was surprisingly easy. I kept the depth of the router bit just barely shy of the seam, to avoid cutting into the underlying piece of wood. I finished the remainder with sandpaper and chisel. Now, it looks like this:


Here, you can also see the narrow shim, grafted onto the left side of the board.

Here are some other before & after photos of the other shimmed areas:


BEFORE. This is the area at the butt joint.
AFTER.
BEFORE. This is the starboard aft of the keel.
DURING.
AFTER.

AFTER.

There's still a little more sanding and preparation work to get the keel ready to use. Soon, it will be time to build the construction form! Stay tuned...

Friday, March 2, 2018

The Slow Saga of Zip Frame #4 — part 10 (the end)

Today I reached a small but important milestone in the Zip project. 

With the dash beam now permanently attached to Frame #4, all structural work is finished on all of the frames.


I used System Three Silvertip epoxy, thickened with mahogany wood dust that I salvaged from sanding. Gussets are attached with 4 #8 3/4" bronze screws on each side. The solid stock is attached with 3 #10 1-3/4" bronze screws, countersunk into the vertical members of the frame.

The 3/8" bungs were cut from scrap mahogany cut off of the keel.

I trimmed the bungs with a big ol' traditional hand saw. Can you tell?

Sanding the bungs... It's starting to look better.