 |
| That's just too much standing water. |
With my patron saint, Clark Griswold, looking over me... I took my new 1-inch hole saw, and things went very, very wrong.
 |
| "Dive! Dive! Dive!" No, I'm not building a replica U-boat. Ugh. What a mess! |
Let's back up a little.
The obvious place to start was a cutout I'd made on what was originally intended as a sole support. I had left this gap for the very purpose of adding a drain tube if I ever chose to. So, I placed the flared end of my Moeller brass drain tube in position, and marked the area to be drilled.
 |
| Here, you can see the brass drain tube, the 1" hole saw, and the space for the hole. |
 |
| Marking the location for the hole. |
 |
| The initial cut. |
The hole got deeper, and deeper, and I kept waiting for the drill bit to exit the other side of the transom. Then, I began to think: "What if this doesn't come out where I want it to?"
Amazed at my own wisdom, I stopped cutting, took the saw part off of the drill bit, and drilled all the way through — just to make sure it came out in the right spot. Guess what?
 |
| The first exit wound. |
There was NO WAY this was going to work. So, I relocated the hole saw where the hole should be, and began drilling inward from the outside.
 |
| Relocated pilot hole. |
 |
| Almost through. |
 |
| The center of the NEW hole, relative to the position of the first one. |
 |
| Here's the drain tube placed into the NEW hole. Not pretty... but workable. |
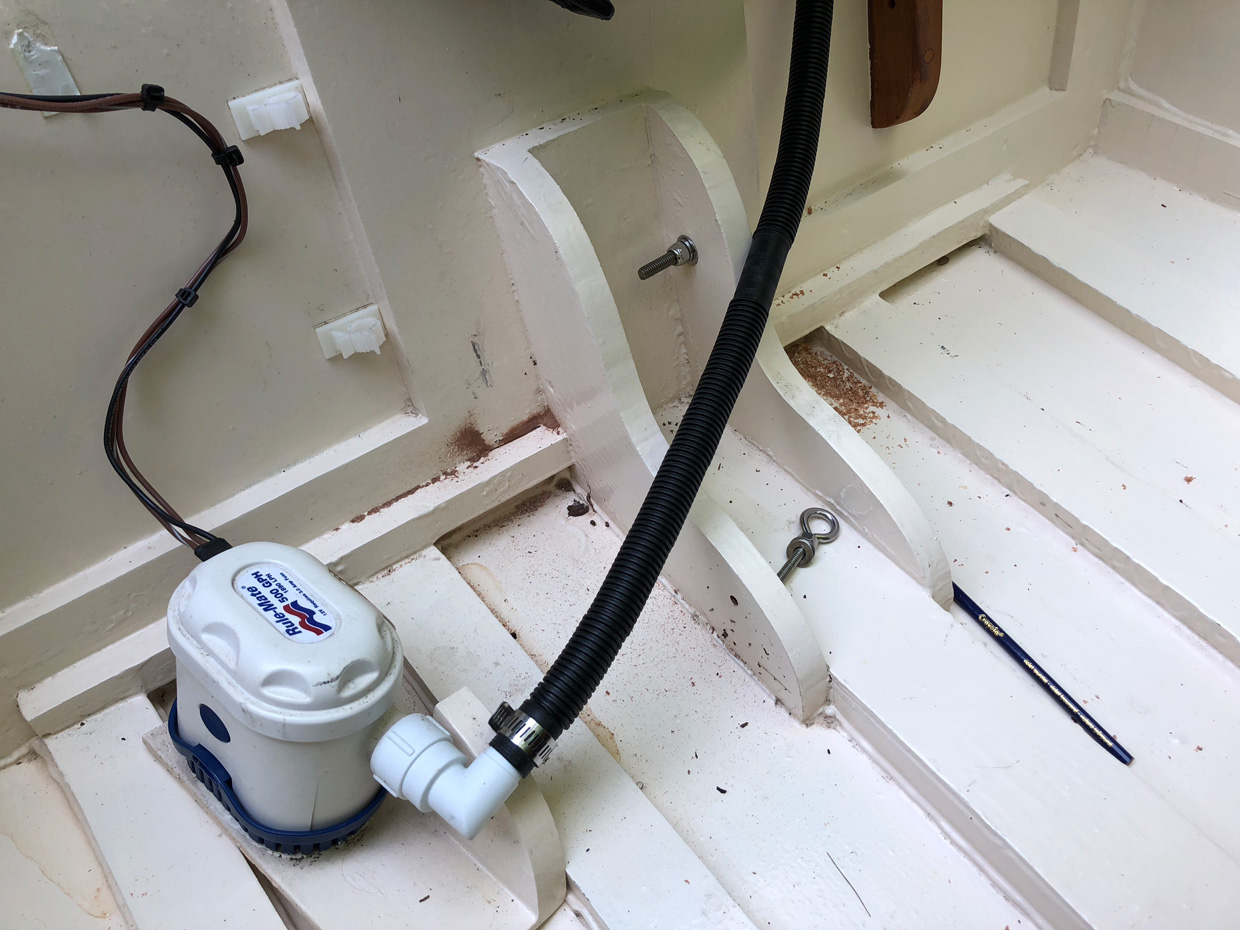 |
| Bilge pump out of the way, and initial vertical cut made. |
 |
| Cautiously cutting the notch with my Porter Cable multi tool. |
I measured and marked the spot for the pilot hole, giving myself a little added room to clear the transom knee on the inside of the hull. This time, the pilot hole was in the perfect location.
What could possibly go wrong?
 |
| Yep. |
Although the hole was in a technically functional position, there was absolutely zero clearance for the flared end of the drain tube.
— Now, in retrospect, I could've made this work. How? By simply not flaring the inner end of the drain tube. I could've made the seal with copious amounts of thickened epoxy. Sure, it wouldn't match the look of the port-side hole, but this side is hidden behind the bilge pump, so it wouldn't really matter. I wish this had occurred to me at the time. But, to quote the classic Asia song... "It was the heat of the moment." —
"No problem," I thought. "I'll simply widen the hole from the inside outward, and fill in the gap as needed later."
But there was a problem. The width of my drill would let me get the hole saw nowhere near the center of the original hole to make an "adjustment". So, I placed it as close as I could, and started drilling. What I wound up with was:
One elongated mess of a hole on the inside...

...and almost two completely separate holes on the outside.

Naturally, this would have to be fixed before I could proceed with my "adjustment."
I've actually seen other boatbuilders fix problems far worse than this one. So, I knew I could fix this. But how?
For starters, I took a slightly larger hole saw (1-1/4" diameter), and cut a plug out of some 2" thick mahogany scrap.


Then I packed the pilot hole with some heavily-thickened epoxy. I liberally coated the inner diameter of my transom mess with the same mixture, as well as the outside of the plug.
Then I tapped it into place with a hammer.
 |
| Don't say it. I know what it looks like. |

Once all that mess cures up, good & solid, I'll find a way to finish "adjusting" the hole. The boat's name is Perseverance, after all. I don't give up.

No comments:
Post a Comment