Thursday, October 24, 2019

Fairing Diary: Day 480

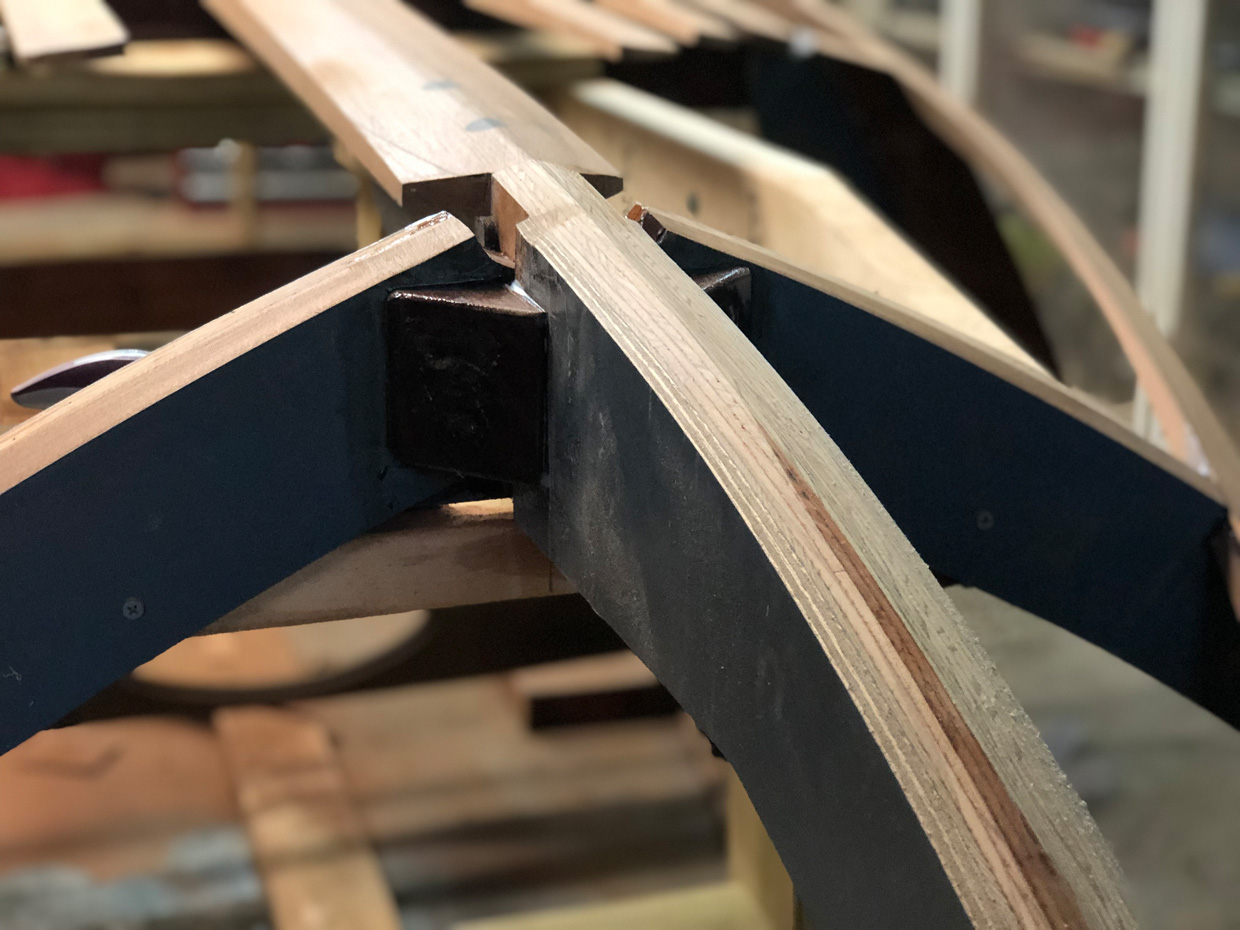
The vertical fairing of the port chine at Frame #2 left high points in the chine aft and forward of the frame.


Over the last few days, I have been working to sand those high areas down... kind of like working the wrinkles out of a blanket — made of mahogany.

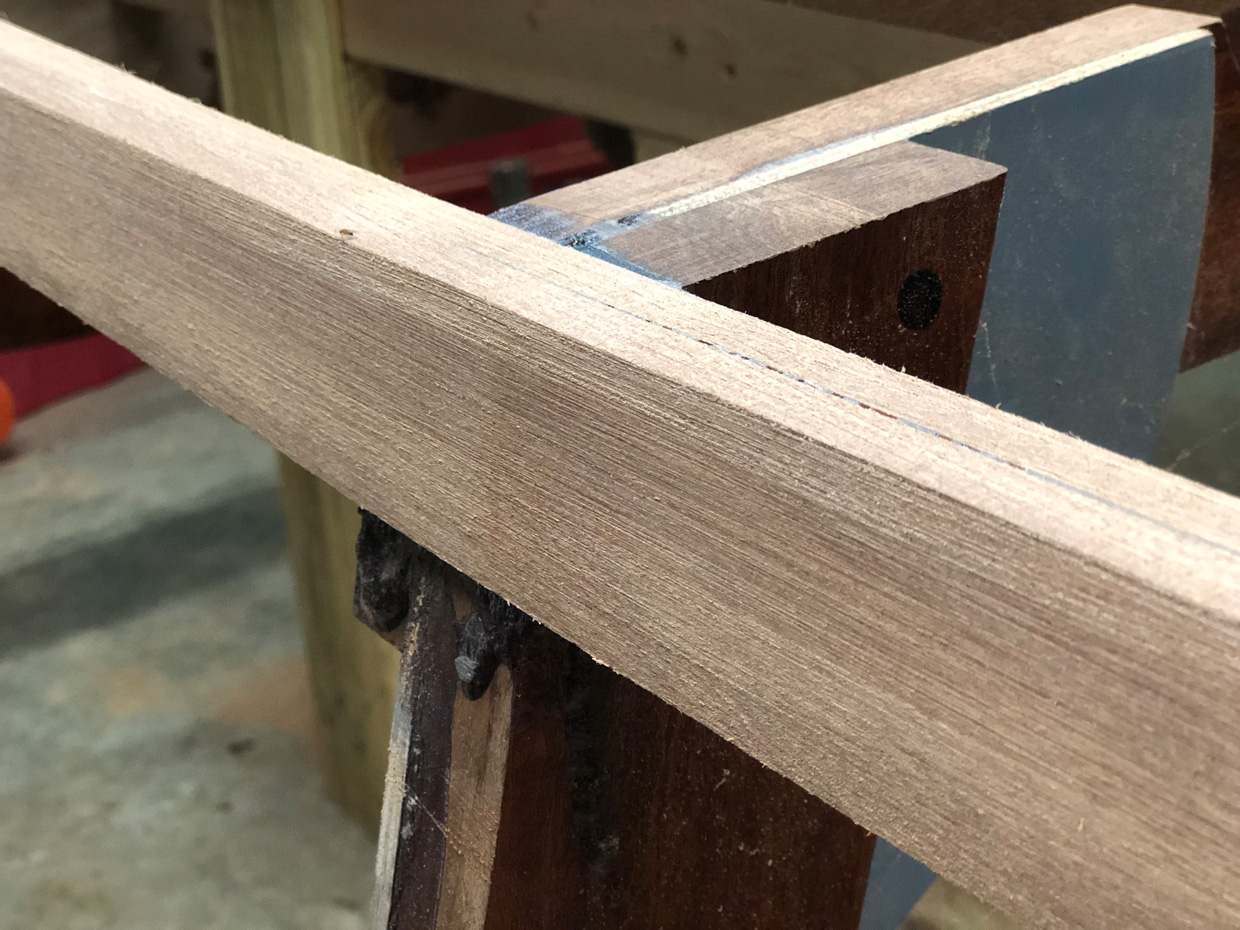
Working the aft end of the chine has also increased the importance of fairing the side of the transom. It extends outward, past the chine, and hasn't been touched in a while.


I've been working on that, too. 

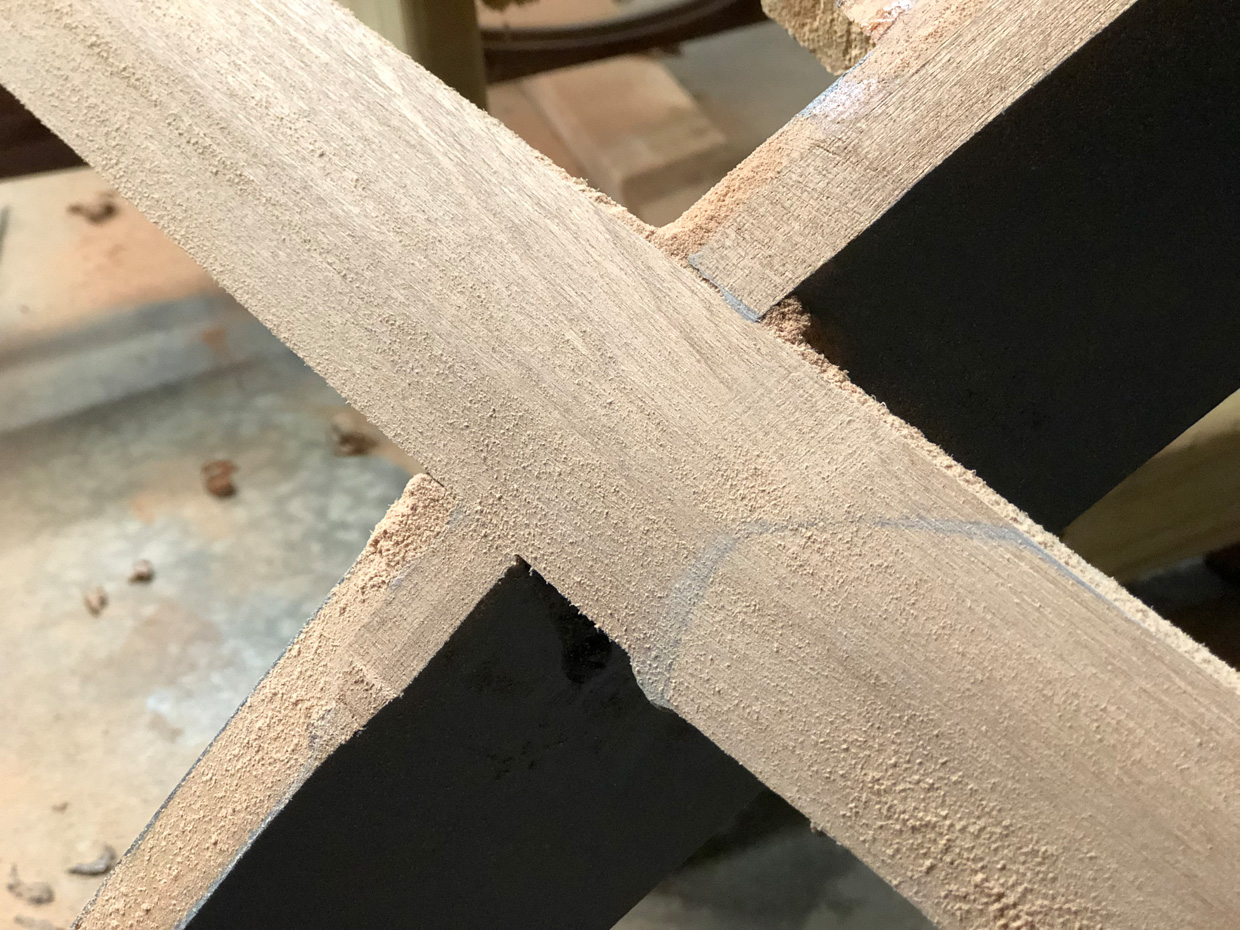
So, here are the progress photos at Day #480:


Close, but no cigar... just yet.

Slowly making my way into that transom.

Sunday, October 20, 2019

Fairing Diary: Day 476. Contact!

Day #476... We have chine contact at Frame #2.


In this fairing phase, where progress is measured in tiny little fractions of a millimeter barely noticeable to the naked eye, and too small to measure with any instruments that I own... I'll celebrate every milestone I can. 

My tired and sore, half-century old shoulders tell me I'm making progress. My sore back tells me I'm making progress. The absolute mess of red dust all over everything, including myself... tells me I'm making progress.

Today, that little overhang on the chine, where it extended past Frame #2 on the port side met its end. Hurrah.

Now, back to work... 

Wednesday, October 16, 2019

Fairing Diary: Day 472

Day # 472. Fairing... what can I tell you? It's slow.

Although I hadn't written any posts in the blog since the summer, I have actually been working on the boat. Not much, mind you.

I had mostly been fairing around the forward port end of the boat, in the area represented by "Zone 8" of the graphic. That area is making pretty good progress, but in the last few days I've returned my attention to other parts.

My two main goals for the short-term are to flatten out the port side of the keel and trim the port edge of the chine.


Currently, there are two main trouble spots: 

  • A high point on the port side of the keel between Frame #4 and Frame #5-1/2, (represented in "Zone 7" of the graphic). This high point is coming down, slowly. I'm hand-sanding all of this.
  • The overhang of the port chine at Frame #2. I've had to adjust the angle to match the angle of the side of the frame. It has visibly improved, but still has a long way to go.

Okay. À la prochaine, mes amis.


Sunday, October 13, 2019

Fairing Diary: Day 469

Day # 469...

It has been a long time since I last posted. Fairing work continues on my Glen-L Zip. Here's a review of the current state of things:

First of all, here is the zone graphic for reference as we move along.


A little bit of fairing has been done along the port edge of the stem, between the keel and the chine. There's still a way to go before the chine blends seamlessly into the bevel of the stem.


The fairing on the stem is a little more pronounced at the junction with the keel and frame #5-1/2.


Here, you can see that the bevel along the port side of frame # 5-1/2 has a bit more to go until it blends with the angle and curvature of the chine.


The port-side floor battens still aren't quite even with frame # 5-1/2, either.


There is still quite a bit of overhang on the chine at frame #2 (port side).


Conversely, the port side of the transom still extends past the chine and needs to be faired to match.


Here's a little issue brewing at the junction of the keel and frame #2. As I have faired the keel to match the angle of the frame, it has offset the centerline of the keel noticeably far to the starboard side.


Fairing. What can I tell you? It's slow.

Tuesday, June 4, 2019

Fairing the port chine

The clamps came off, and the fairing work started in earnest... immediately.


One doesn't tend to think of boatbuilding in terms of its qualities as a blood sport. 

I don't, for example, recall hearing any stories about roman emperor Nero sitting in the coliseum, watching people build boats; laughing sadistically at their increasing backaches from all the crouching and sanding.

However, I drew blood in a very unexpected way while fairing this thing. I cut myself on a clump of dried epoxy; lay my finger open pretty good, too. I suppose that in the process of sanding the stuff at an angle, I had inadvertently sharpened it. Then, while sanding the other side, I passed my hand over it and it sliced right in to me. Ouch.

Odd. 

Fortunately, I didn't have to be airlifted to safety in order to get a band aid. Honestly, I'm glad I can make light of the little incident. I've heard stories recently about fellow boatbuilders getting mauled by their power tools. Be careful, folks.

On to the pictures:


Epoxy mess at the chine-to-stem joint.

Epoxy mess at the scarf joint forward of Frame #5-1/2. (This is what I cut myself on later.)

Early progress on the fairing.

Cleaning up the chine-to-stem joint.

Joint at Frame #5-1/2.

Joint at Frame #4.

Joint at Frame #2.

Chine-to-transom joint.
I was pretty happy with how the scarf joints turned out:


Scarf joint just forward of Frame #5-1/2.

Scarf joint a few inches aft of Frame #4.

Scarf joint between Frame #2 and the transom.

X marks the spot, I suppose?

Thursday, May 30, 2019

"This could be the last chine...

Okay. Since I badly paraphrased the Foreigner song when I posted about the very first chine lamination going on the starboard side, I thought I might as well badly paraphrase the Stones to announce the second (and hopefully last) chine lamination on the port side.

I scarfed the whole thing in-place.


Yep. That's a total of 64 clamps there. Every clamp I own.


Including two I made. I sheathed them in latex gloves to keep from gluing them to the boat.

See, these do work. I'd characterize them as light-duty, or at most medium-duty, clamps.  They can apply more pressure than a spring clamp, but less than a quick-grip bar clamp. The inverted carriage bolt tends to "walk" the clamp as you tighten it. But, they DO work.

The first starboard chine lam went on in October. Here it is, almost June, and I'm finally gluing on the 2nd port chine. It was a year ago when I attached the stem. Slow, slow progress... but, it's not a race.

Saturday, May 25, 2019

Preparing the 2nd lam — port chine, Zip

With the first lamination down, and a new order of epoxy on its way from Glen-L (I'm completely out), I started preparing the second lamination.

This basically involves 3 steps:
  1. Cutting one end to fit at the stem
  2. Planning the placement of the scarf joints
  3. Preparing the scarf joints
Here we go, with pictures...

1. Cutting one end to fit at the stem

After a little testing with some paper-thin wood templates, I found that the angle at the front tip of the chine was almost exactly 60°. Easy enough to cut.


Then, with a little trial and error, I cut the bevel so that the tip of the chine would fit against the stem as best possible.


2. Planning the placement of the scarf joints

Just as with the first lamination, what I have to work with are 4 strips of mahogany approximately 3/8" thick x 2" wide, and a little over 4 feet long. 

The three scarf joints on the first lamination lie between Frame #5-1/2 and Frame #4 (about halfway); between Frame #4 and Frame #2 (again, about halfway), and between Frame #2 and the Transom, approximately 16" forward of the transom. (These locations correspond with zones 7, 6, and 5 in the graphic below.)


My goal with the second lamination is to stagger the locations of the scarf joints, so that the joints on lam 1 will be backed by solid wood on lam 2. In doing so, I need to make sure that the scarf joints of lam 2 do not wind up directly over the frames.


The forward strip of lam 2, fitted & clamped onto lam 1. The 2nd strip is shown loosely in position. The joint between the two will have to be located forward of Frame #5-1/2.

The 2nd strip of lam 2, clamped loosely into place so that it is centered over the scarf joint of lam 1.

The scarf joint between the 2nd strip (shown) and the 3rd strip (not shown) will have to be located slightly aft of Frame #4.
The placements shown above will allow the scarf joint between the 3rd and 4th strips to be located approximately 1 foot aft of Frame #2. The 4th strip will then cover the aft-most scarf joint of lam 1.

3. Preparing the scarf joints

According to the Glen L. Witt's book, Boatbuilding with Plywood, the ideal ratio for a scarf joint is 1:12. I found that this roughly corresponds to a 5° cut. 

So, I made this cut on a scrap of 2x4 to use as something of a "sled" for my table saw:


Not Swiss-watch precision, but it works.

I made the cuts, and then lay the strips one on top of the other, aligned so that I could sand the surfaces for the best possible fit.


With all that done, I clamped all the parts into position to make sure everything will fit correctly.


This view shows the aft end of the 2nd strip, before I had made the 5° scarf cut.


Location of the forward-most scarf joint, just forward of Frame #5-1/2

(slightly closer view)

All the parts clamped into place.
Now, when that order of epoxy gets here, it'll be time to put all this together.

I may actually need more clamps.

Have a happy and safe Memorial Day weekend.