Sunday, March 25, 2018

To Stain, or Not to Stain? THAT is the Question.

So, the epoxy encapsulating process on the forward (hidden) face of Frame #4 went pretty smoothly:


The problem was, the particular piece of mahogany I had selected as the dash beam developed a really high-contrast, "striped" look to the grain when coated with epoxy.

While maybe this didn't look "bad," it was a bit of a leap from the look I wanted. The highlights in the grain were almost the same brightness as the epoxy-coated cherry inlay. It was all just more visually distracting than I wanted it to be.


After all the work I had put into the dash beam, I was not inclined to build a new one from a tighter-grained piece of wood unless it became absolutely necessary. So, I began to consider using a stain for the aft face, (the actual dashboard), in order to darken the piece overall — especially the highlights.

Another builder had some success with the Minwax Express Color water-based stains. I'd bought a tube of it several years ago, based on his recommendation. There was still a bit left, so I experimented on some scrap mahogany to see how it would look.


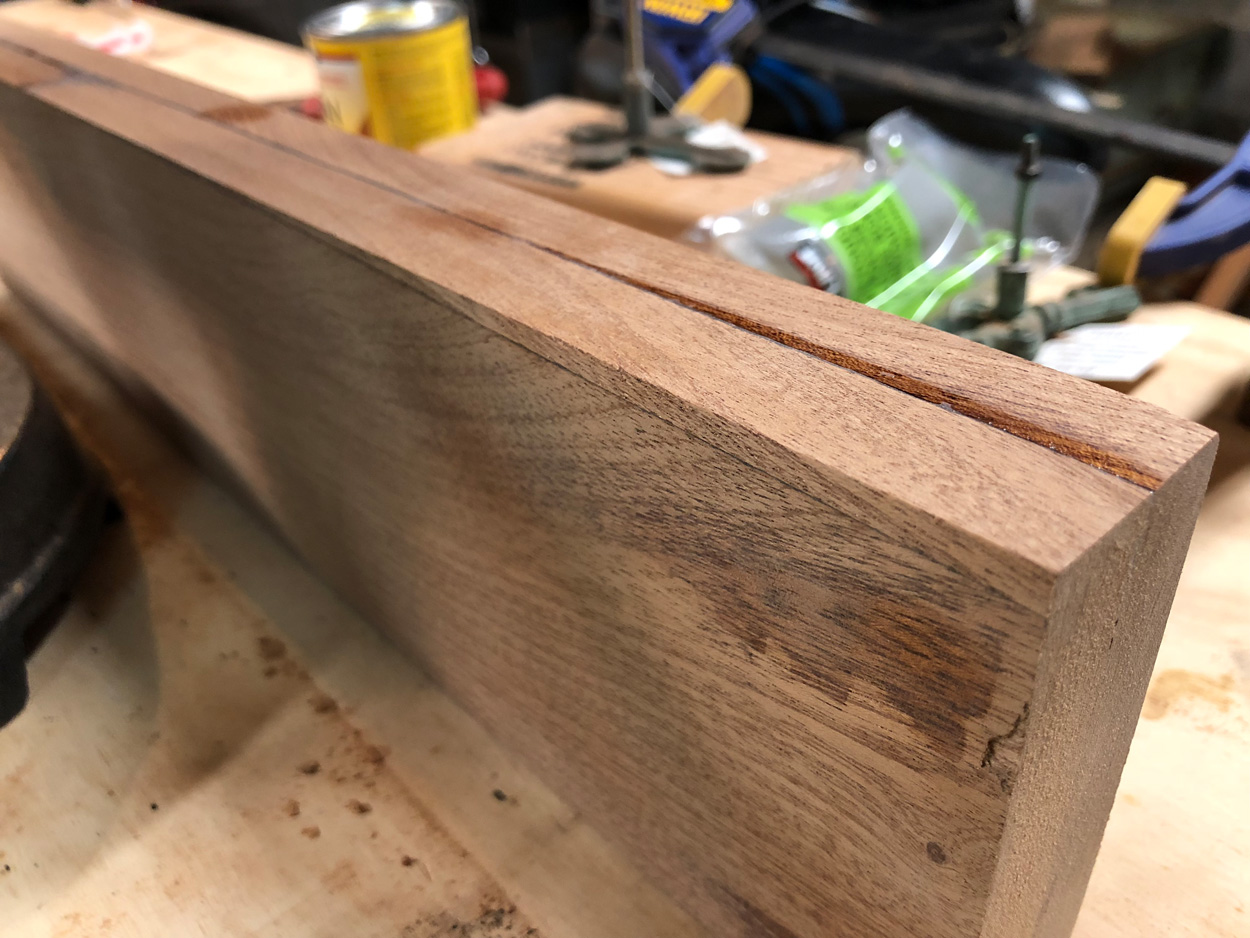
One coat, and two coats of Minwax Express Color "Mahogany" compared to my epoxy-coated dash beam.
After a lot of thought, and more overthought, I finally decided to go with two coats of the Minwax Express Color stain in the "mahogany" color. Since my tube was a few years old, I wanted to get a new one to use on my actual dashboard. There was a problem:

It was the ONE color of the stuff that was out-of-stock at my local Ace Hardware. At Home Depot, where I'd bought it originally, the Express Color product was NOWHERE to be seen. Lowes? Hey... they compete with Home Depot, so they didn't have it either.

Back to the drawing board.

A little online searching led me to this article, Epoxy Adhesion Over Stains on EpoxyWorks.com: http://epoxyworks.com/index.php/epoxy-adhesion-over-stains/

In a nutshell, the article covered adhesion tests of West System epoxy to wood treated with a variety of stains. They tested stains dried for 24 hours and for 4 days. Minwax Gel Stain was one of several that passed BOTH tests. So, I decided to try it.

I tested both the "Mahogany" color and the "Red Elm" color on some scrap mahogany. The "Red Elm" stain produced a darker color, with a stronger red hue on my test piece. It also seemed to darken the highlights in the grain proportionately more than the "Mahogany" stain.


One coat each of "Mahogany" stain (top) and "Red Elm" stain (bottom) on my test piece of mahogany.
By this point, my impatience kicked in. I was tired of thinking about it, and ready to just do it. I chose to go with one coat of the "Red Elm" color.


BEFORE.

DURING. A "liberal amount of stain, evenly applied."

AFTER. Per the instructions, I let the stain sit for 3 minutes, then wiped away the excess.
The end result was darker and "browner" than my test piece. However, the stain did indeed minimize the high contrast "stripes." The color is acceptable to me. I would've preferred more red than brown... but I'm not going to mess with it any further. It does offset the cherry inlay MUCH better than the epoxy-only side.

Now, I'm going to give it at least 4 days to dry. Then, I'm going to hope and pray that System Three Silvertip epoxy adheres to it as well as the West System epoxy in the tests.

Shims for the keel

LAST TIME, on "Keel: Truth and Theory" ...


This little gap on the side will get a shim, also. Is that a hairline crack I see?
Why, yes. Yes, that was indeed a hairline crack I saw. 

It was a couple of inches long, too. I decided that just wasn't acceptable, so I employed my new router to mill away the area with the crack. It was surprisingly easy. I kept the depth of the router bit just barely shy of the seam, to avoid cutting into the underlying piece of wood. I finished the remainder with sandpaper and chisel. Now, it looks like this:


Here, you can also see the narrow shim, grafted onto the left side of the board.

Here are some other before & after photos of the other shimmed areas:


BEFORE. This is the area at the butt joint.
AFTER.
BEFORE. This is the starboard aft of the keel.
DURING.
AFTER.

AFTER.

There's still a little more sanding and preparation work to get the keel ready to use. Soon, it will be time to build the construction form! Stay tuned...

Friday, March 2, 2018

The Slow Saga of Zip Frame #4 — part 10 (the end)

Today I reached a small but important milestone in the Zip project. 

With the dash beam now permanently attached to Frame #4, all structural work is finished on all of the frames.


I used System Three Silvertip epoxy, thickened with mahogany wood dust that I salvaged from sanding. Gussets are attached with 4 #8 3/4" bronze screws on each side. The solid stock is attached with 3 #10 1-3/4" bronze screws, countersunk into the vertical members of the frame.

The 3/8" bungs were cut from scrap mahogany cut off of the keel.

I trimmed the bungs with a big ol' traditional hand saw. Can you tell?

Sanding the bungs... It's starting to look better.