The effort wasn't without merit, however. Several different parts did get encapsulated with another coating of epoxy. Still, the gap needed to be filled.
This time, I placed the rear thwart vertically in my bench vise. I drizzled epoxy into the gap until there was no question that it had been filled.
 |
| Now the gap has been filled. |
 |
| 2nd layer of epoxy on the top of the front seat. |
 |
| Sheers taped off for epoxy & painting. |
 |
| Sheers taped off for epoxy & painting. |
 |
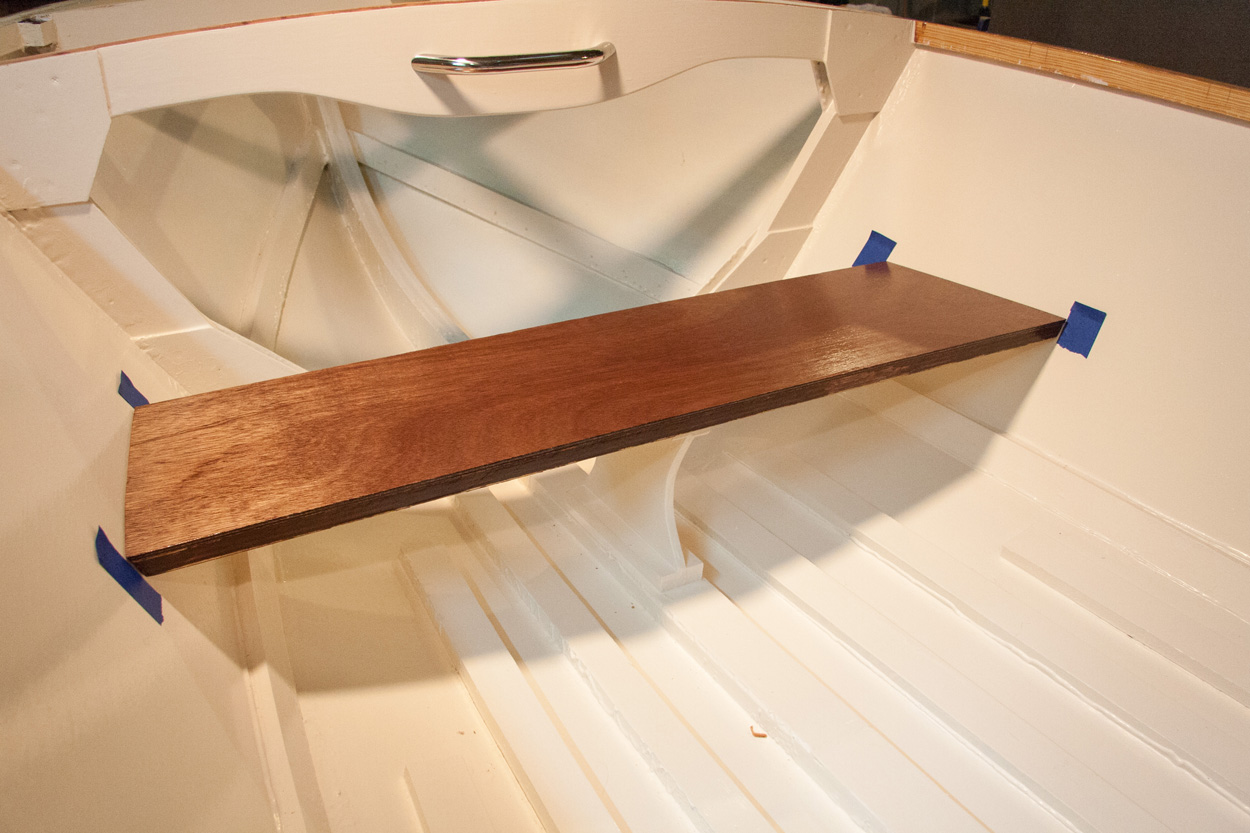
| Forward thwart placed back into position. |
 |
| Marking the position for the forward thwart prior to installing it permanently. |
No comments:
Post a Comment