Happy Thanksgiving!
With the basic sanding done, and the keel notch widened, I next laid the floor beam on top of my full-size construction drawing in order to check the shape.
 |
| Floor beam on the construction drawing. |
The good news is, that one side of the floor beam was a darn-near perfect match with the drawing from the plans. Unfortunately, however, the other side was not. It had been over-cut, and as a result was not wide (or tall) enough in the outer section of the curve.
 |
| Here you can see the gap between the actual floor beam, and the line where it should be. |
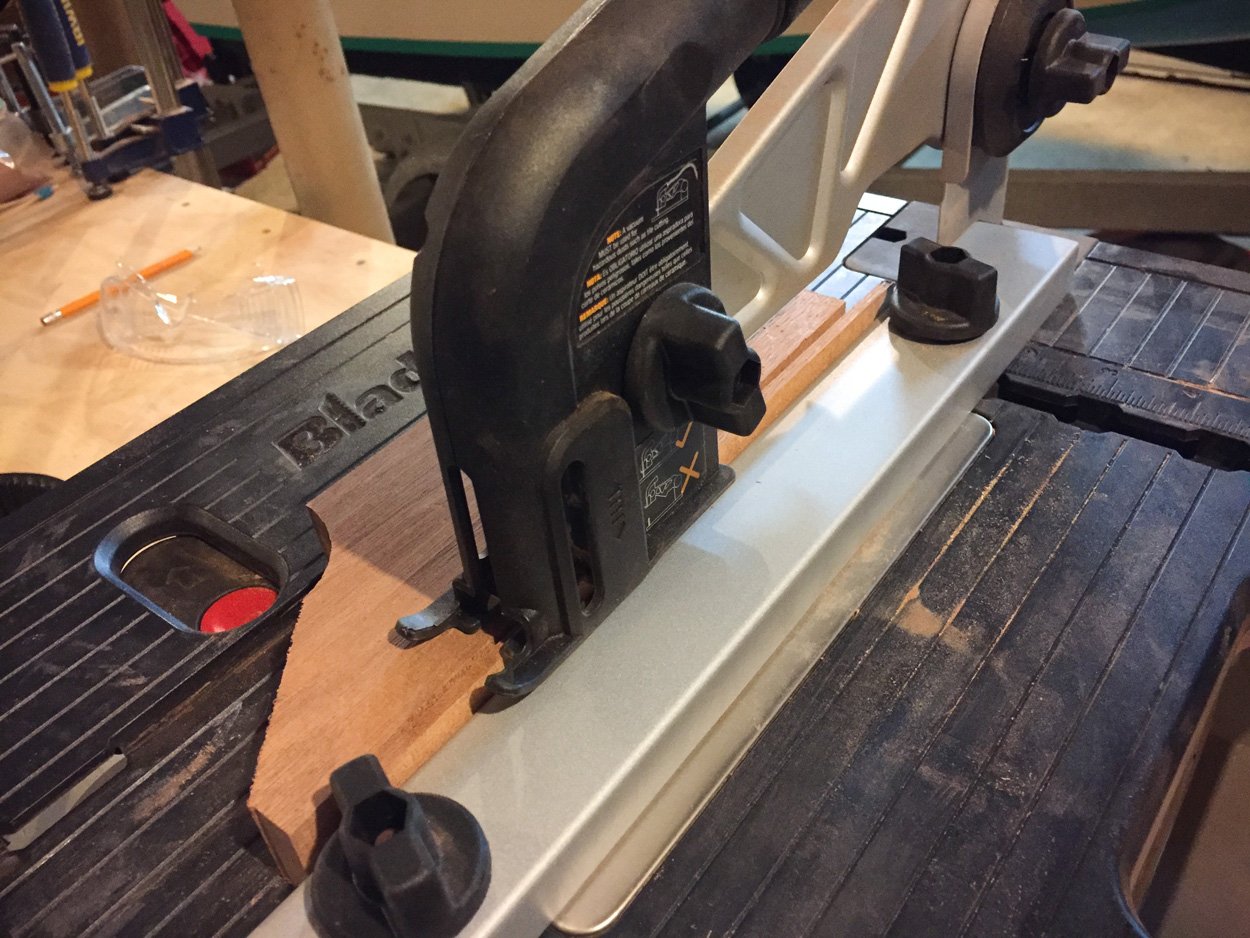
So, I decided to remedy the situation by laminating on a thin strip of wood. Fortunately, I had a scrap piece of mahogany that was almost exactly the same width as the floor beam. I used my little Rockwell BladeRunner to cut a couple of strips approximately 3/16" thick.
 |
| Cutting a couple of thin strips of mahogany. |
I clamped the strips into place to see how they fit. It was a relief to see that this was going to be an apparently easy thing to do.
 |
| Test-fitting the strips. |
So, this morning, I removed the clamps and prepped my work area with a sheet of waxed paper.
I gathered all the items I'd need: Scale, mixing cup, scraper, chip brush, mixing stick, rag, epoxy, and of course... my bag of mahogany wood dust.
The rest was easy and straightforward. I mixed a small batch of epoxy & thickened it with wood dust. I brushed it onto both mating surfaces, clamped it all down, and scraped away as much squeeze-out as I could. In a few more hours, it should be nice and solid.
 |
| A little epoxy, and a lot of clamps. Now, just to wait for the epoxy to cure. |
Thanks for reading... and good luck with Black Friday tomorrow.
"in everything give thanks; for this is the will of God in Christ Jesus for you."
— Thessalonians 5:18


No comments:
Post a Comment